How to use Alios
This guide takes you from signup to delivery so you can set up Alios quickly and run your workflow with clarity.

This guide takes you from signup to delivery so you can set up Alios quickly and run your workflow with clarity.
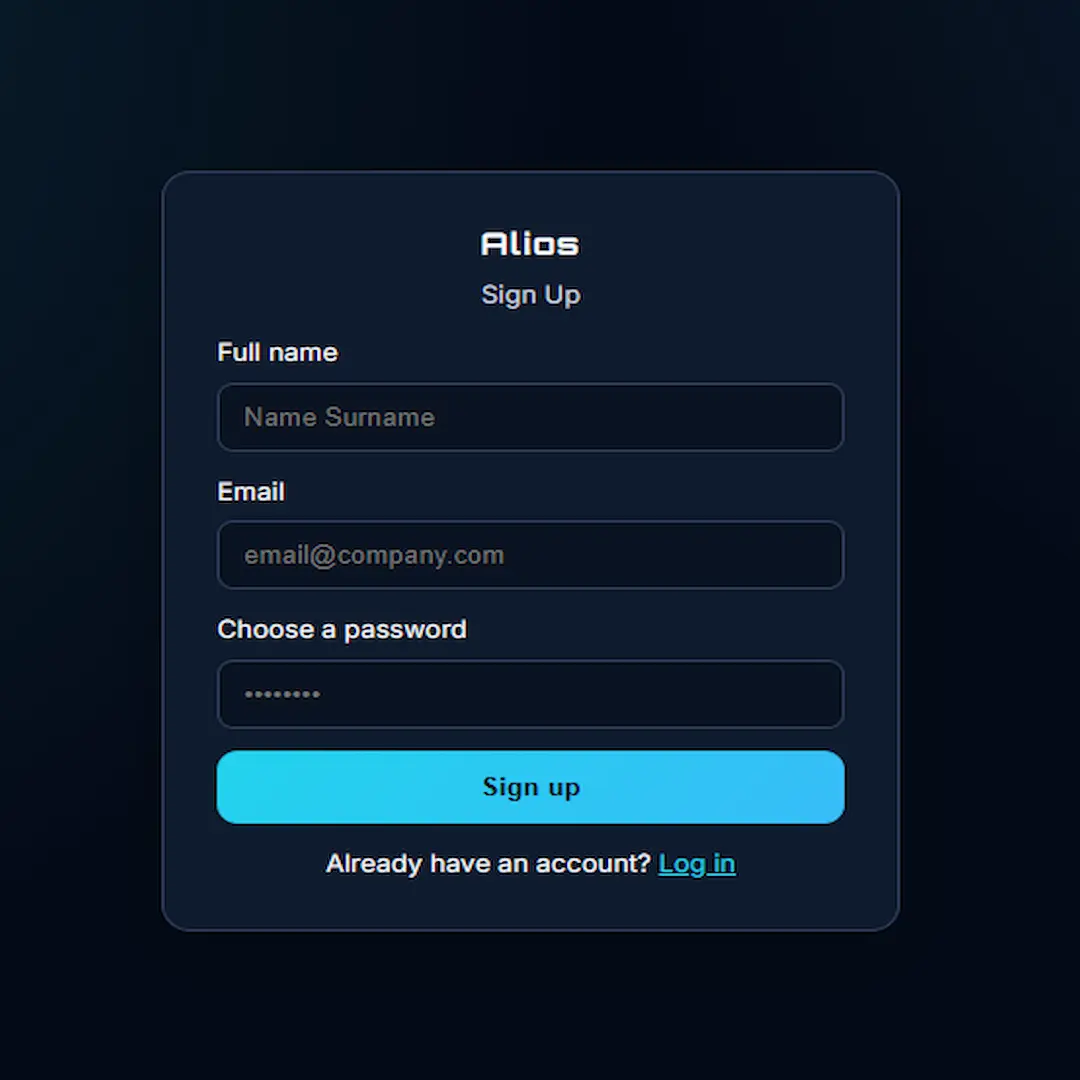
Alios signup screen where you create a new account.
Create your account from the signup screen. Once your account is ready, open your workspace and continue with the setup flow.
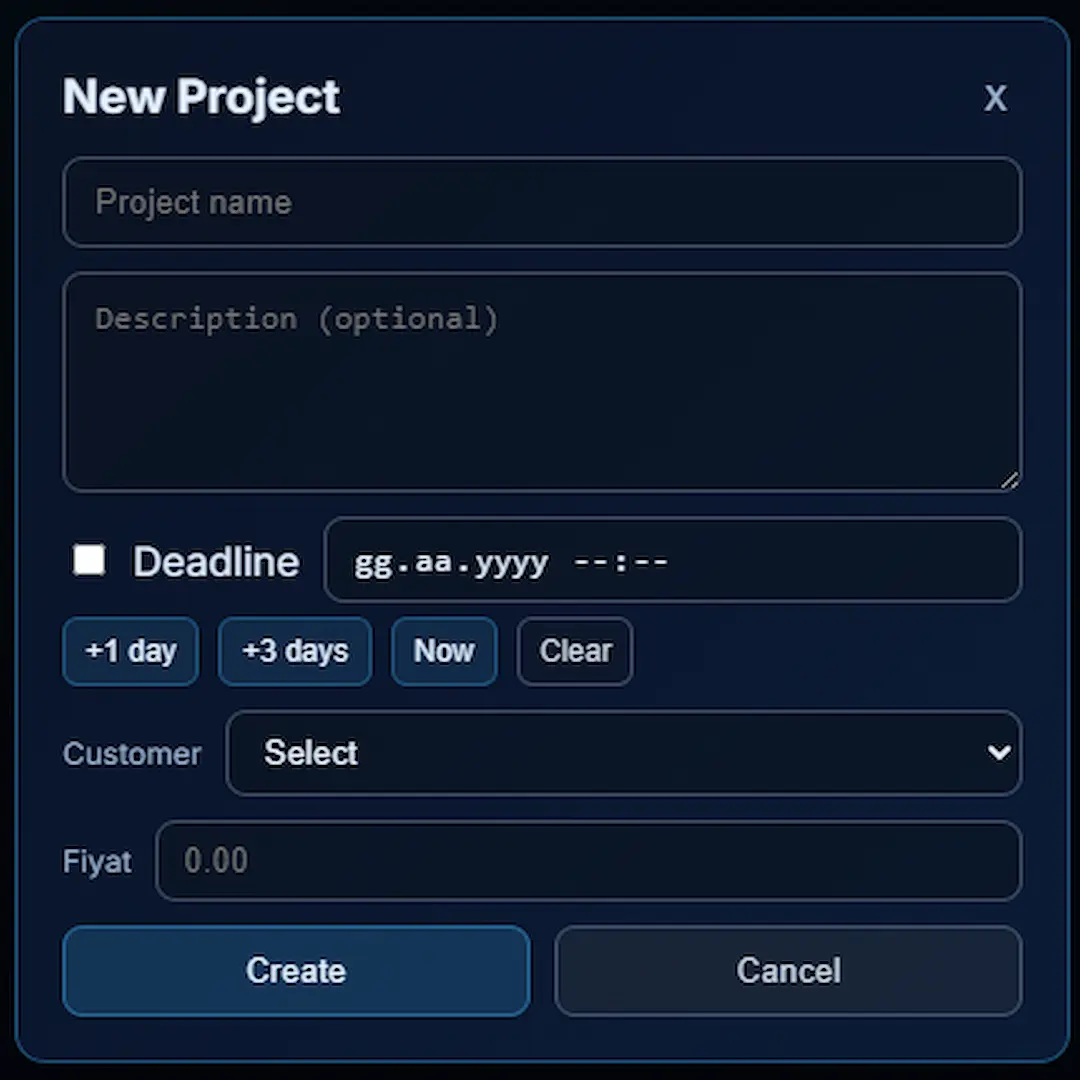
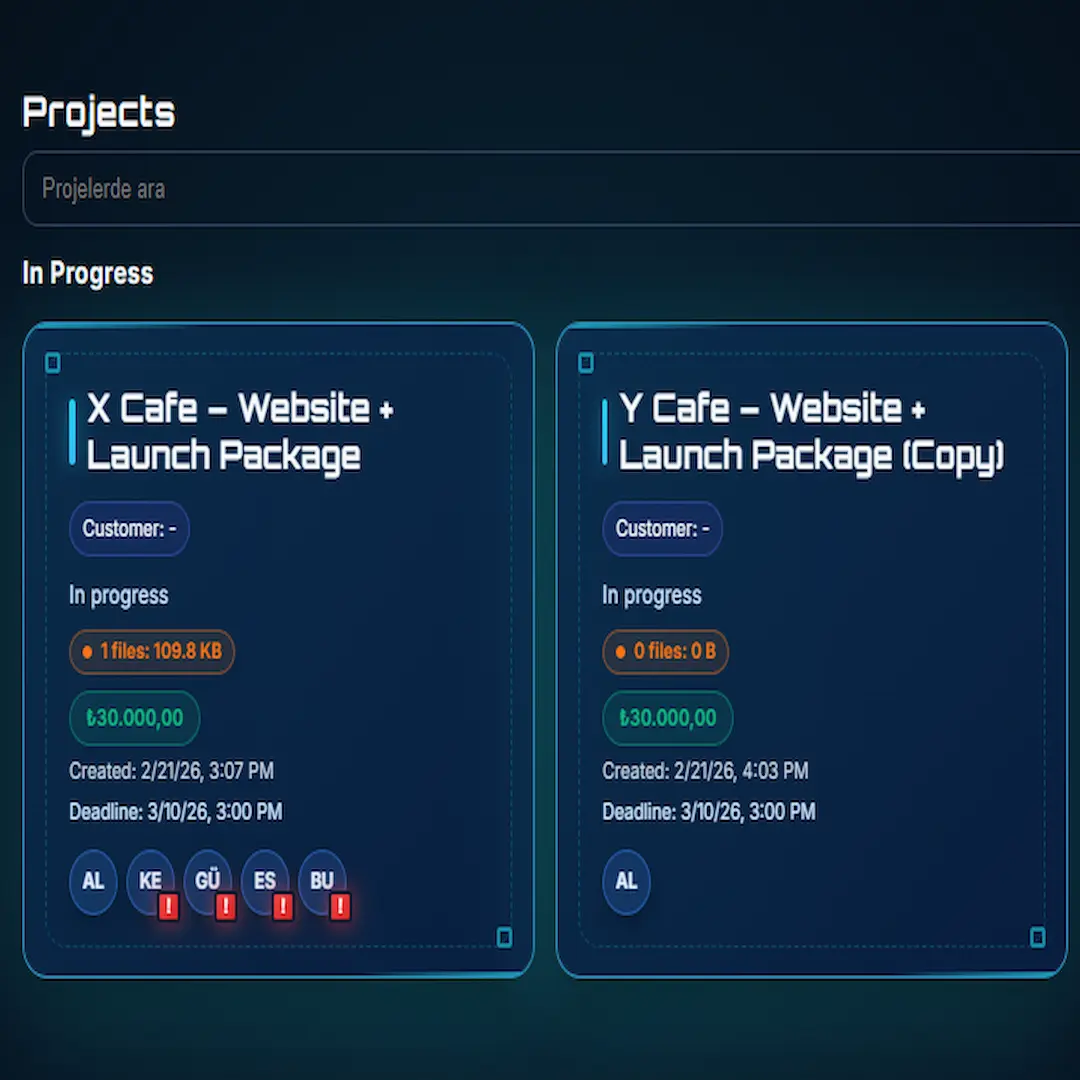
New project form on the projects page.
After login, you land on the projects page. Enter a project name, description, and optional deadline. If the work belongs to a customer, select that customer so projects stay organized by customer and balances are tracked automatically.
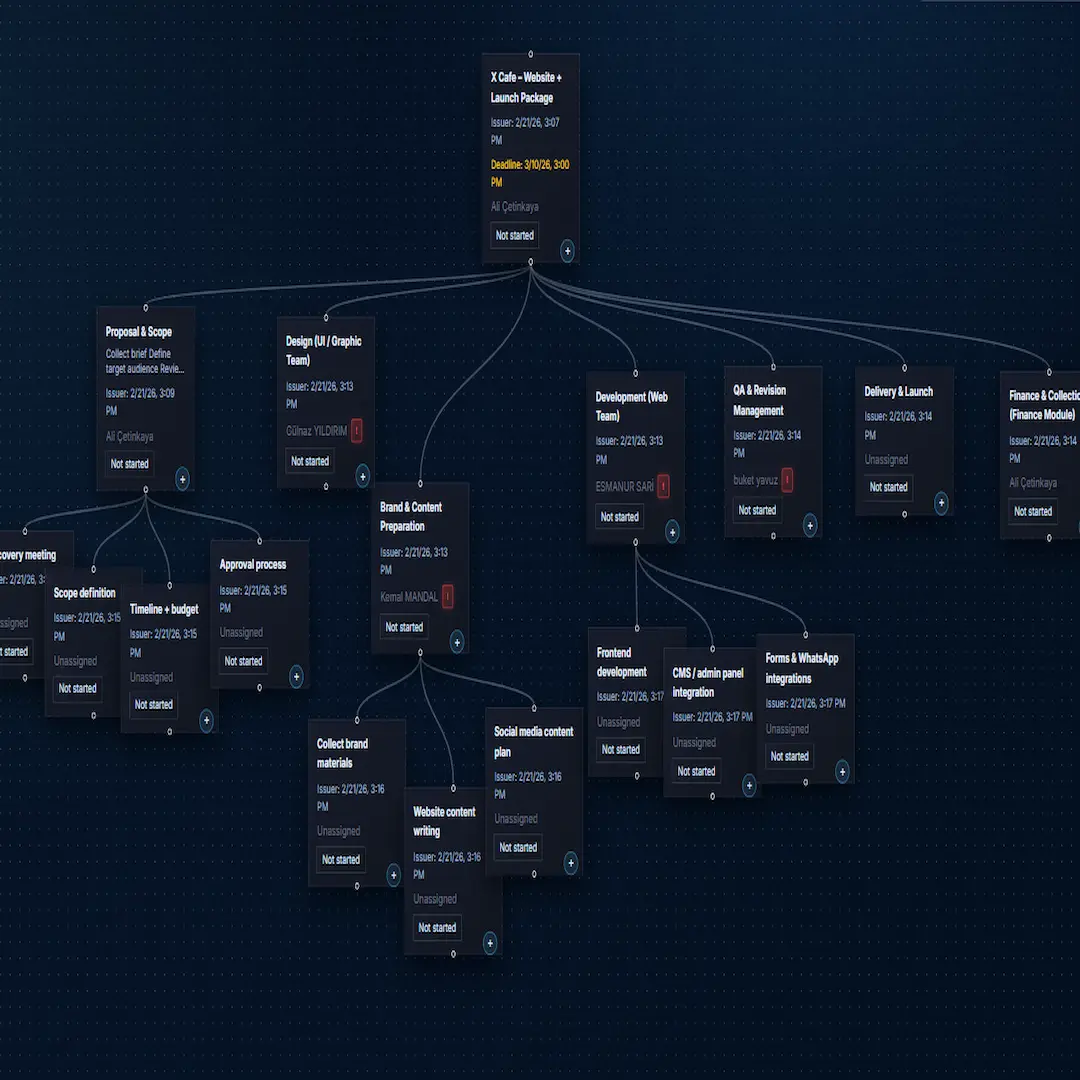
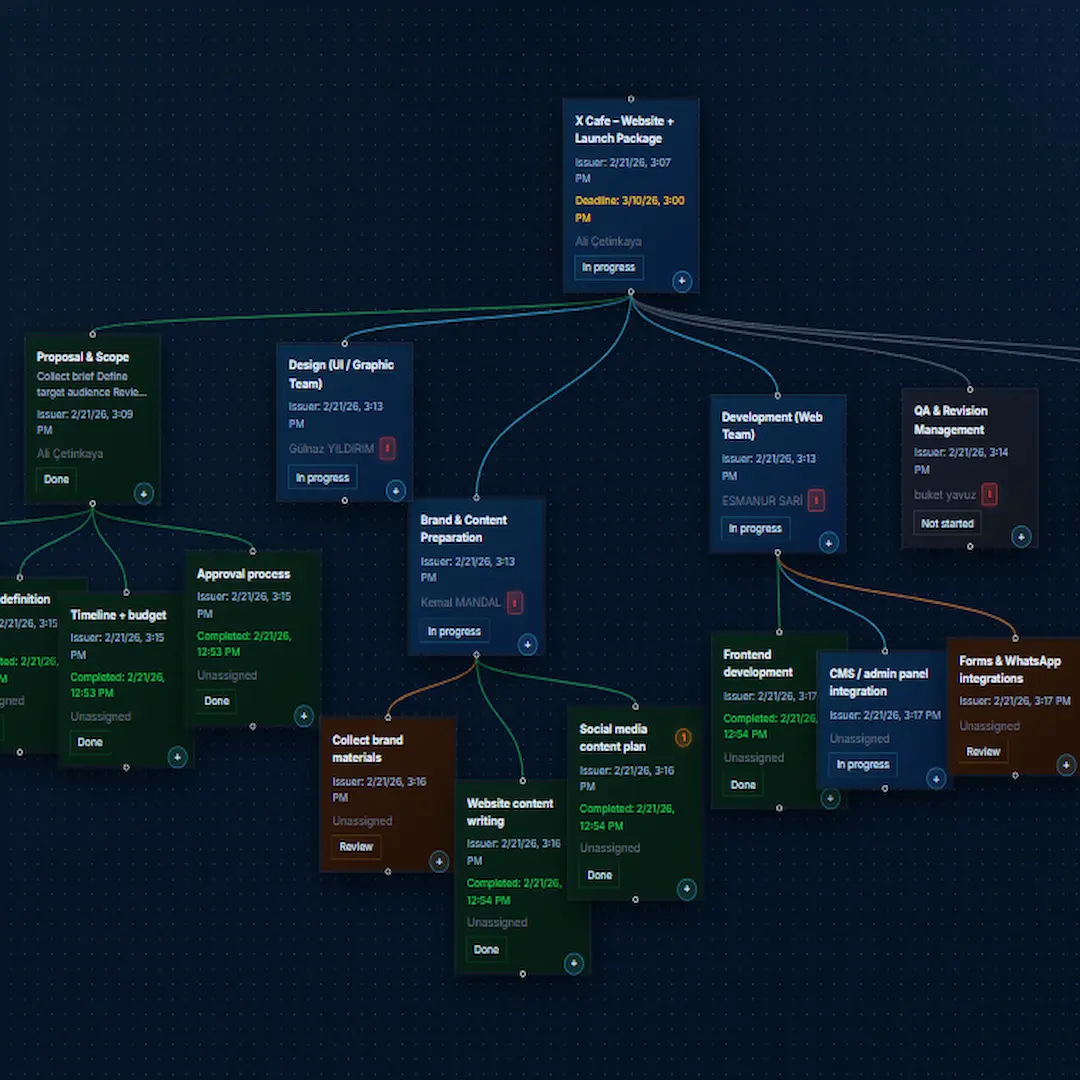
Project tree view for splitting and assigning nodes.
Open your project and split it into smaller nodes. Use the + button under each card to create subnodes, assign owners, and set deadlines. This keeps ownership and scope clear for everyone.
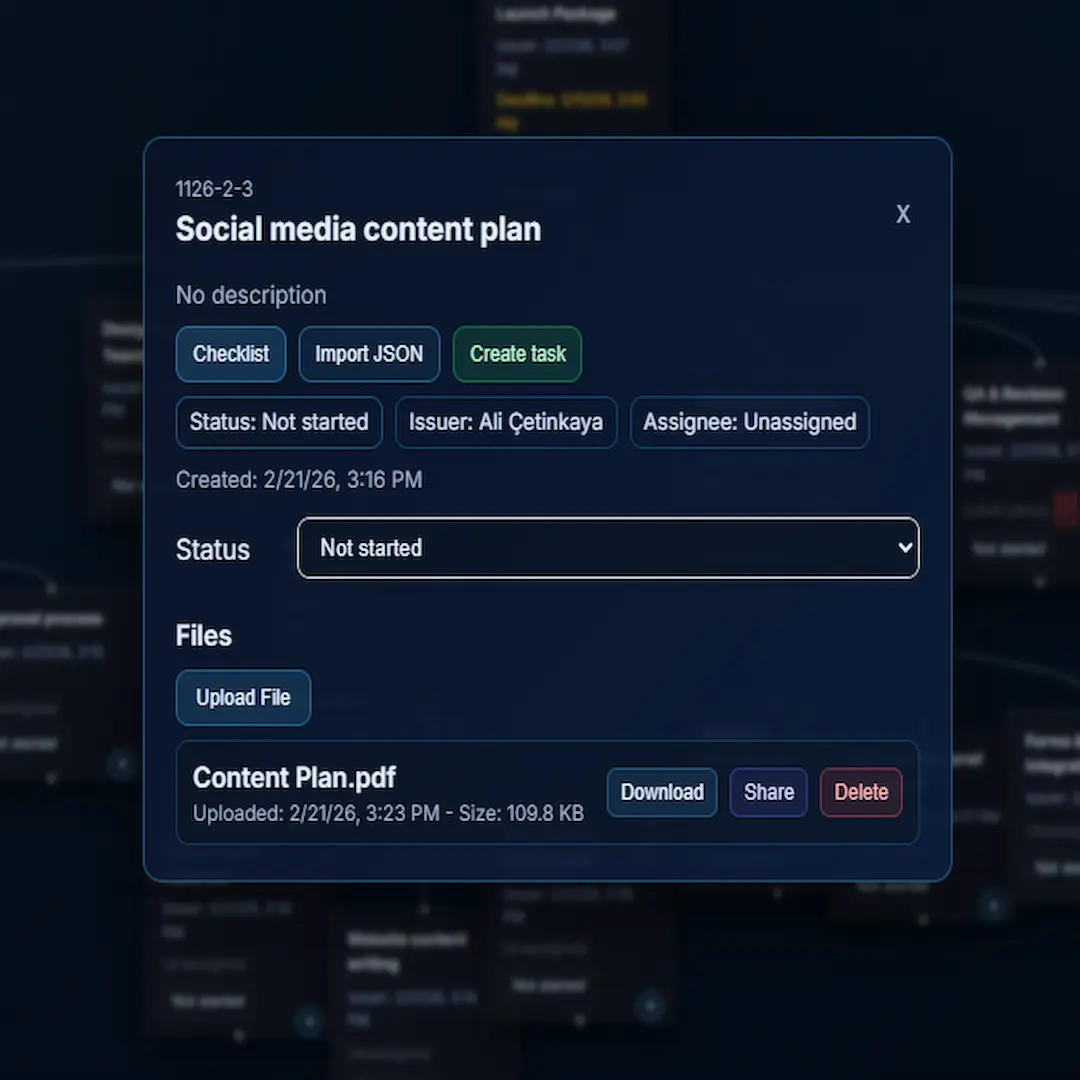
Uploading files directly on a work card.
Upload outputs directly to the related work card. Keeping files inside the work context reduces file chaos and lost documents.
Tracking delivery progress with node status updates.
Mark cards as Done when a work item is completed. Track progress with statuses like Not Started, In Progress, In Review, Waiting, and Done. In tree mode, child progress also reflects on parent branches.
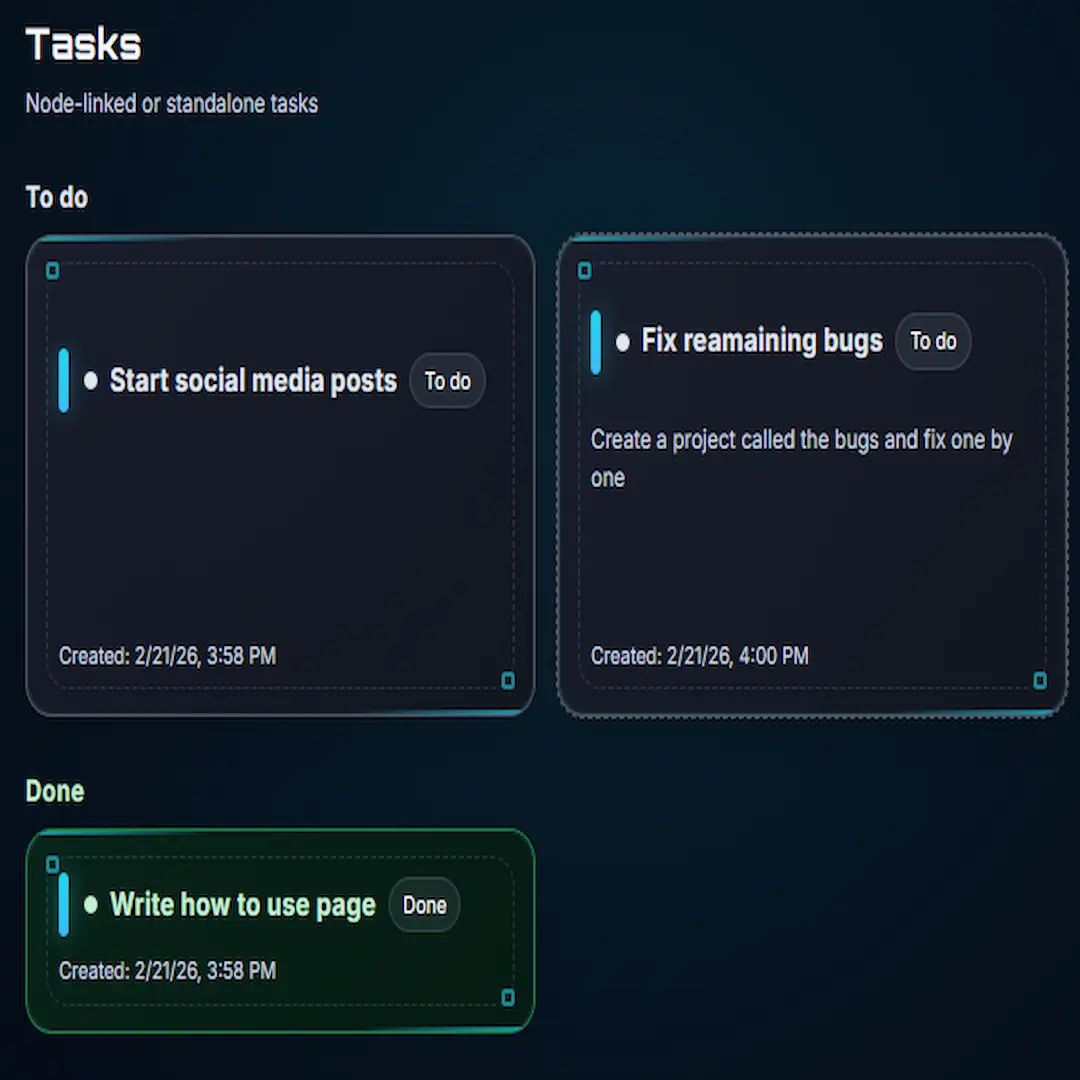
Task cards for personal and team to-dos.
Create tasks for yourself or teammates. Track both project-related and standalone work in one list. When completed, set the task to Completed to separate it from active items.
Reusing and sharing template-based structures.
Reuse project structures as templates or clones. Generate a share link so others can copy the same structure into their own workspace without changing your original.
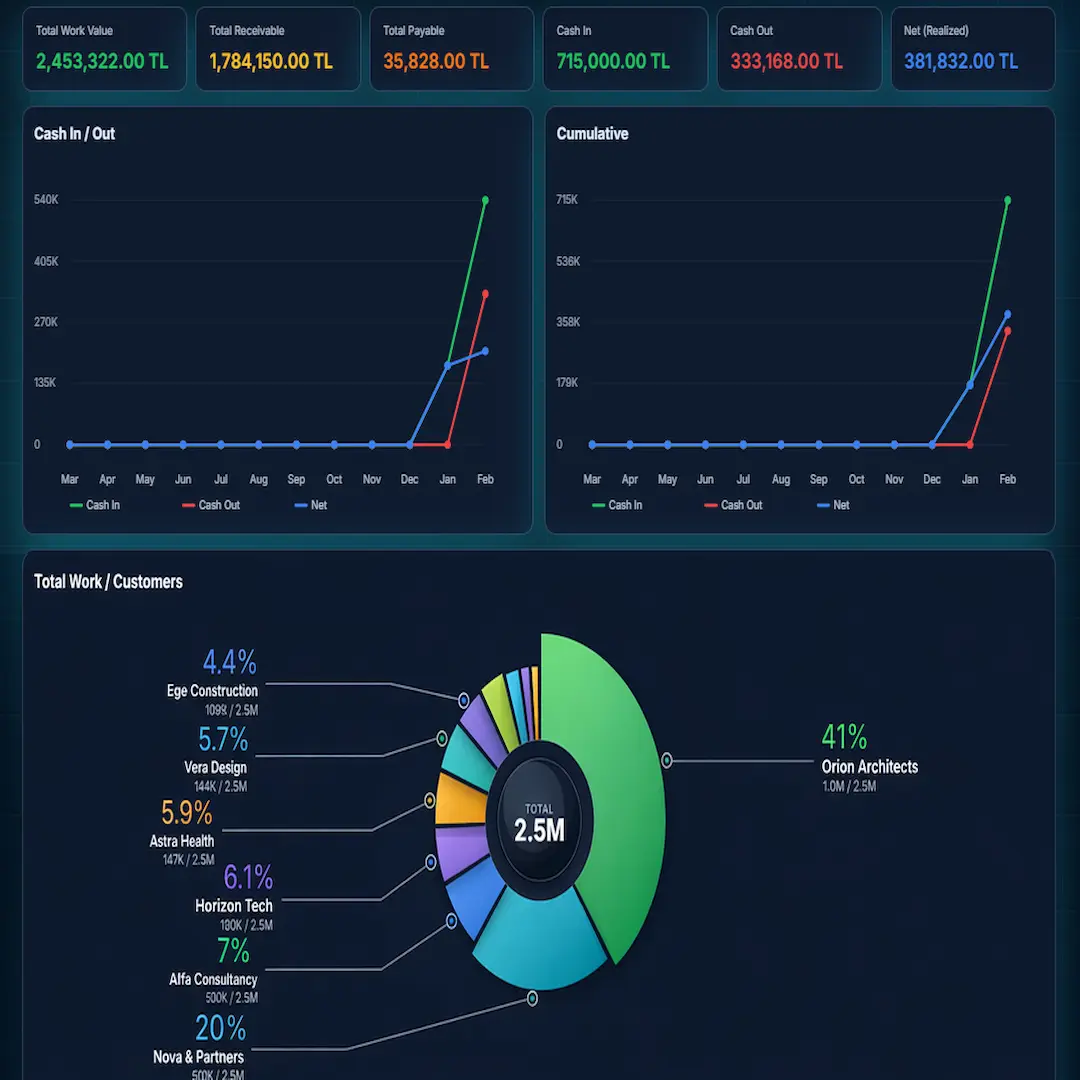
Finance dashboard with cash flow and profit analytics.
View income, expenses, receivables, payables, cash in-out, and net profit from one panel. Use built-in charts to analyze monthly performance, customer distribution, and expense breakdowns.
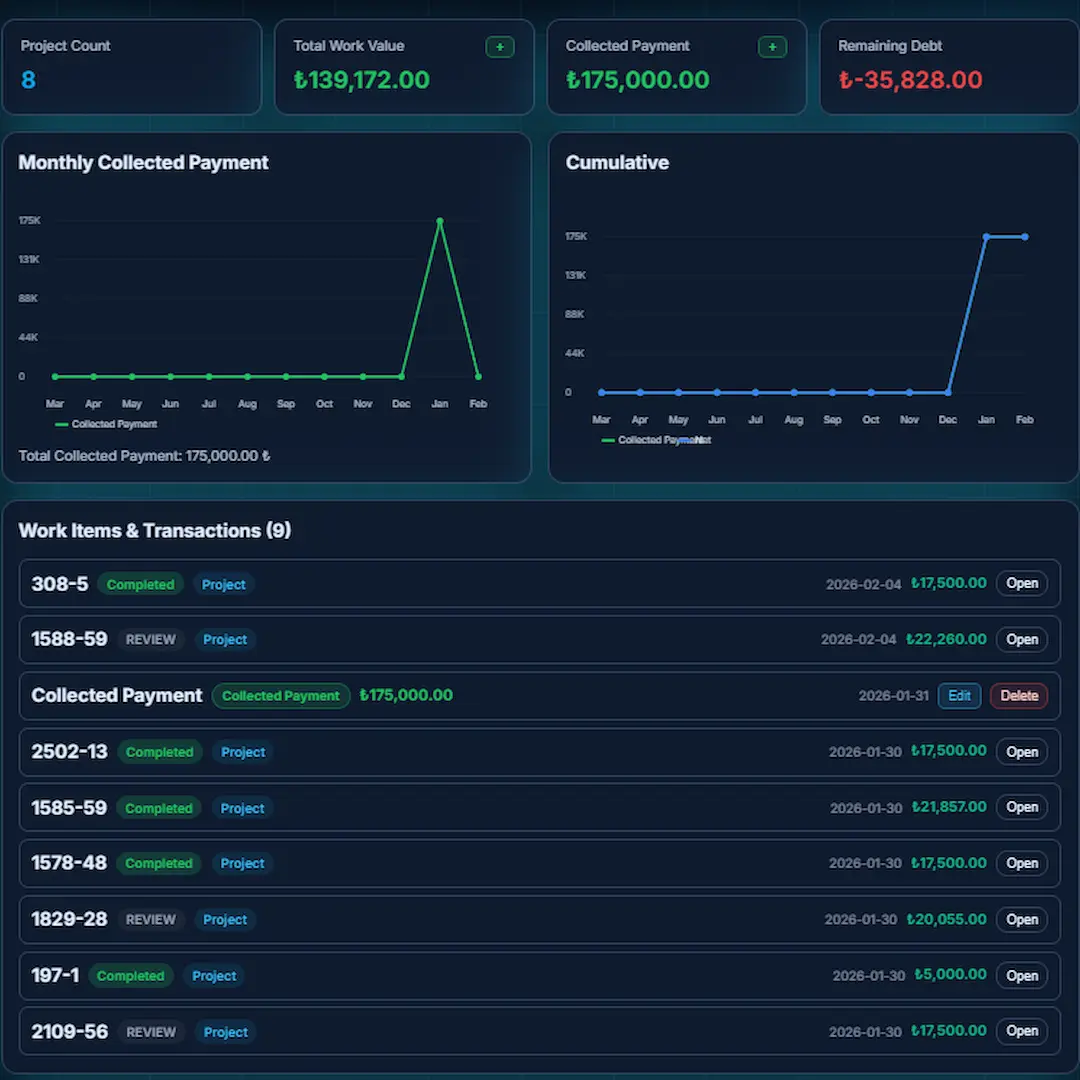
Customer view with payments, work history, and balances.
See customer financial history, delivered work, and received payments. Add new payments or work entries and monitor each customer relationship with visual summaries.
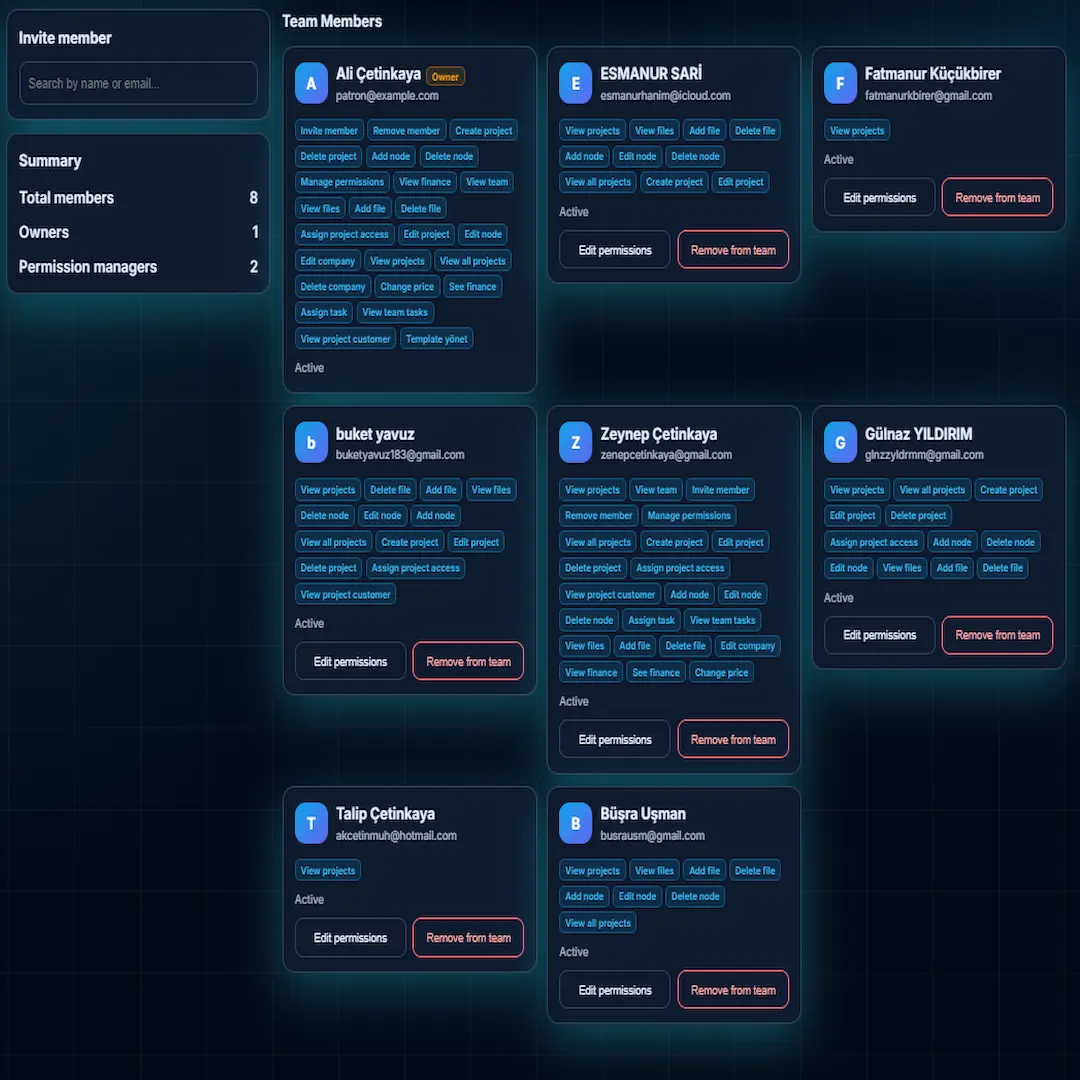
Team management with invitations and role permissions.
Invite team members and assign role-based permissions. Control access such as finance visibility, company-wide project access, and member management.